 Our summer has been unusually cold and damp. We call it "the summer that never was". So when the blackberries ripened it took me by surprise and they came and went in a matter of weeks. I was able to gather enough to make one batch of jam and my daughter baked two delicious pies. Yet this morning, as the sun was still shining brightly on our short Indian summer, I tried to pick the last of the berries for one more batch of jam. It was slow picking as much of the fruit had dropped off the vines or simply molded. I was selective, though, and got a bucketful. Blackberry picking teaches you to have a soft touch both with the berries and the very naughty and prickly vines.
  Once the bowl has been filled, the berries must be washed and drained. This is the time to throw out the bad fruit, get rid of leaves and stems and coax the worms and bugs to find another home. Then comes my grandson's favorite job, squishing the berries. He does this with much vigor and many interesting sound effects. His hands are bright purple when he is done which delights him even further.
I could take you through the whole process of making jam, but that would just be boring. Needless to say, after a lot of heating, adding pectin and sugar and stirring, more boiling, then ladling into jars you get this finished product. The rich purple color is beautiful and the flavor of summer lasts all winter long. Besides all that, I know what ingredients have gone into my jam. It also gives me a great deal of satisfaction to harvest something from my land. By the way, it's also fabulous on ice cream!
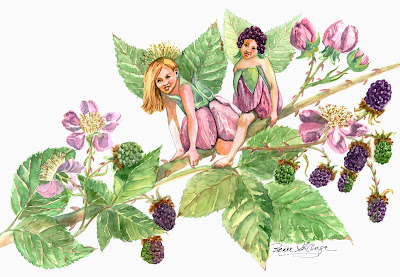
I have long admired botanical watercolors. In an attempt to use that descriptive style with my fairy art I painted this watercolor. I call it "Berry Buddies". The painting shows three stages of growth for the blackberry vine. The flowering stage, the green berries, then the full ripe black berries. The little fairies are playing on the vines and wearing the foliage of the bush. It reminds me of when I was young playing with my "berry" best friend, Susan.


